In today’s modern world, computers play a role in nearly every part of consumers’ daily lives. In addition to the video gaming, word processing, homework and programming functions that the original personal computers primarily served, today’s laptops and desktops are used for education, entertainment, shopping, selling, banking, photo ands video storage, correspondence, travel booking … the list goes on for miles. And, for better or for worse, the more tasks and activities consumers use their computers for, the more personal information is stored on them.
This is why, for reasons related to personal security, sentimentality and practicality, it’s important not to take the sale (or, for that matter, giving away or recycling/disposal) of a personal computer lightly. To protect their personal info and to preserve their personal files, consumers should consider taking these four crucial steps before parting ways with a personal computer:
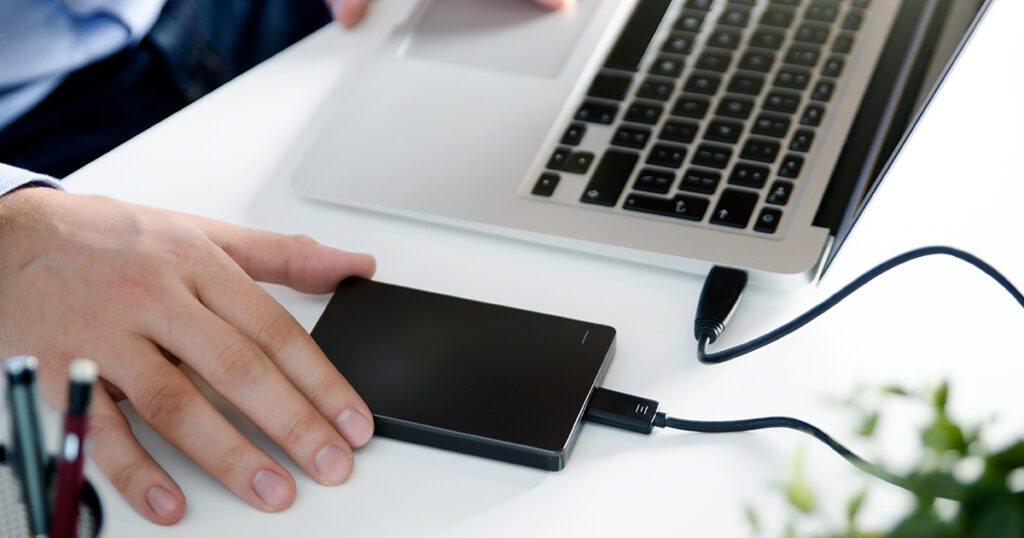
- Back up all files — This step is especially important for computer owners whose old devices may house irreplaceable family photos and videos, important work documents or any other consequential files that the user doesn’t want to lose. For users with a lot of files to back up, and especially if many of the files take up a lot of disk space, saving to an external hard drive might be the best bet. These drives are easy to use (with some as simple as a USB “memory stick”), and in recent years, their prices have fallen while their storage capacities have jumped — making a drive with high levels of available storage space relatively low in cost. For users without a lot of files to back up or who are looking to back up smaller files, a cloud-storage solution along the lines of Dropbox and Google Drive should suffice, and many of these services can even be used free of charge for entry-level tiers of storage space.
- Deauthorize/deactivate any software on the computer — Next, in order to maintain accessibility on their new devices, users will want to deactivate/deauthorize any digital software or files that were installed and used on the old computer. These include software like Adobe’s Creative Suite or files such as songs downloaded from iTunes, usage of which is often limited to a single or restricted number of devices. A good first step for accomplishing this is to look through the old device’s software and audio/video files that were purchased online, then make a list of the programs and files that will be kept on any new or replacement devices. From there, users will need to do a bit of software- and file-specific research to determine how each is deactivated/deauthorized, as the methods for accomplishing this can vary from one maker to another. Often, it involves visiting a website to first sign out of the software on the old computer, then revisiting the same website on a new/replacement device and signing back in.
- Erase/format the computer’s hard drive securely — Before selling or recycling their old computers, users will want to ensure that all of their personal data has been removed from the device. The best way to ensure this is done is to wipe the drive clean and format it before reinstalling the operating system. For Windows users, a number of effective data-erasing programs are available at no charge. Among the most popular are DBAN, KillDisk and Disk Wipe. And for Mac users, the computer’s built-in Disk Utility provides a data-erasing feature. One note for Mac users: To ease the process of reinstalling the operating system, which is detailed below, users might want to create a USB or DVD boot disc before erasing their hard drive.
- Reinstall the computer’s operating system — After completing the step above, the hard drive on users’ computers will be completely blank, so they’ll want to reinstall the computer’s operating system before selling or donating/recycling the device. This is a relatively simple process for those who still have their operating system’s discs and for Mac users who created a bootable installer as mentioned in the step above. Users will need to reboot their computers’ system, doing so from the OS disc, and then follow the installation instructions that appear on-screen. For Windows users, the computer should boot from the Windows OS disc automatically, and Mac users will need to hold down the Option key after hearing the startup chime, then select their boot disc.
Looking for a blazing fast and reliable internet connection for your new laptop or desktop computer? Visit ftc.net to explore the range of rates and packages available from FTC Internet.


